
Introduction
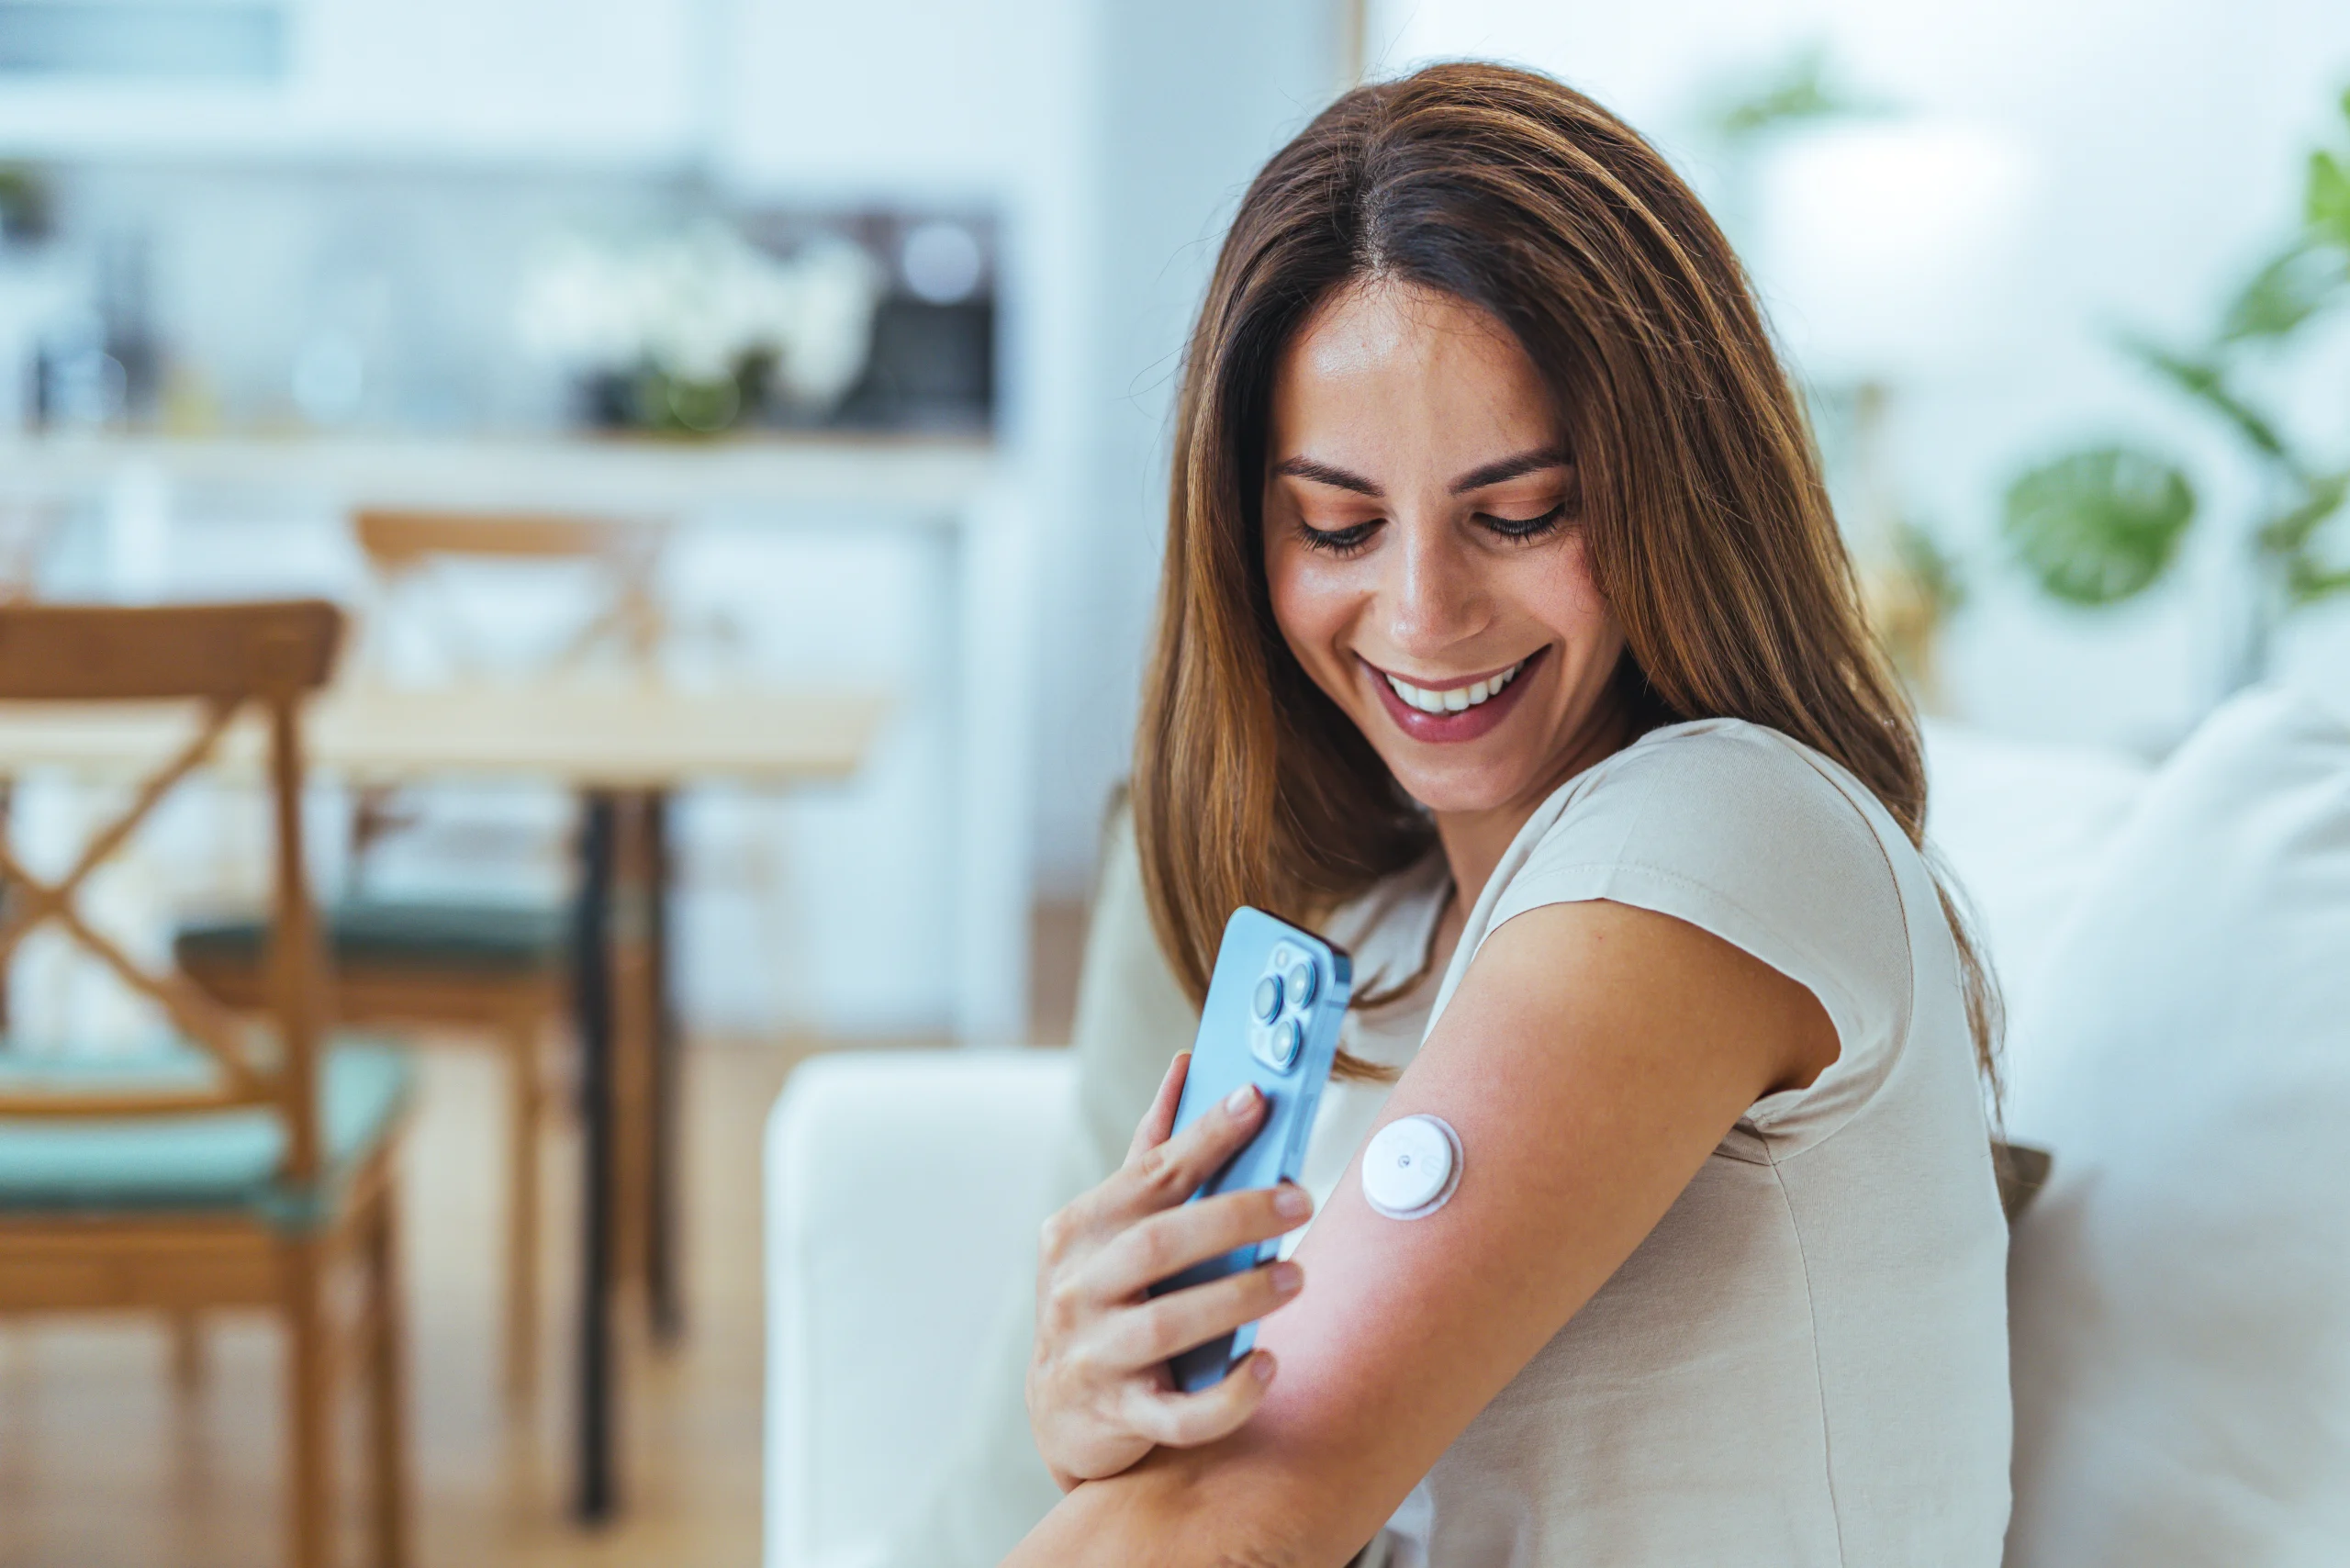
Learning how to read a blood pressure meter is a crucial health skill that can help you monitor your cardiovascular health from the comfort of your home. Whether you’re using a digital blood pressure monitor or a manual aneroid cuff, understanding proper technique and interpretation is essential for accurate results.
Blood pressure monitoring has become increasingly important as hypertension affects over one-third of American adults, yet many remain unaware of their condition. Home monitoring not only provides convenience but can also help detect “white coat syndrome” and provide your healthcare provider with valuable trend data.
This comprehensive guide will walk you through everything you need to know about reading blood pressure meters, from preparation and measurement techniques to interpreting your results and troubleshooting common issues. You’ll learn the differences between digital and manual devices, proper positioning techniques, and how to avoid the most common measurement errors that can lead to inaccurate readings.
Key Highlights
- Two critical numbers: Systolic (upper number) measures pressure during heartbeats, while diastolic (lower number) measures pressure between beats—both are essential for health assessment
- Preparation is vital: Rest for 5 minutes, avoid caffeine 30 minutes prior, sit with back supported, and ensure your arm is at heart level for accurate readings
- Device accuracy matters: Upper arm digital monitors are most reliable for home use, while manual devices require proper training but can be highly accurate when used correctly
- New hypertension guidelines: Blood pressure of 130/80 mmHg or higher is now considered high for all adults, representing a significant change from previous standards
- Multiple readings rule: Always take at least two measurements, wait 1-2 minutes between readings, and track trends rather than focusing on single results
- Common errors to avoid: Talking during measurement, improper arm position, incorrect cuff size, and moving during inflation can all lead to inaccurate results
- White coat syndrome awareness: Doctor’s office readings may be elevated due to anxiety—home monitoring often provides a more accurate picture of your true blood pressure
Understanding Your Blood Pressure Monitor
Before learning how to read a blood pressure meter, it’s important to understand the different types available and how they work. Each type has distinct advantages and considerations for accurate measurement.
Digital Blood Pressure Monitors
Digital blood pressure monitors are the most popular choice for home use due to their ease of operation and automatic calculation. These devices use oscillometric technology to detect pressure changes in your artery as the cuff deflates. The monitor automatically inflates the cuff, measures the pressure, and displays your systolic and diastolic readings on a digital screen.
Upper arm digital monitors are generally more accurate than wrist models because they measure closer to your heart level. Look for devices validated by the British Hypertension Society or American Heart Association for reliability assurance.
Manual (Aneroid) Blood Pressure Cuffs
Manual blood pressure cuffs, also called aneroid sphygmomanometers, require you to manually inflate the cuff and listen for Korotkoff sounds through a stethoscope. While they require more skill to operate, they don’t rely on batteries and can be extremely accurate when used properly.
These devices consist of an inflatable cuff, pressure gauge with needle dial, rubber bulb for inflation, and release valve. Healthcare professionals often prefer manual devices for their reliability and precision, though they require training to use effectively.
Choosing the Right Device
For most people monitoring at home, an upper arm digital monitor offers the best balance of accuracy and convenience. Ensure the cuff fits your arm properly—the bladder inside should encircle at least 80% of your arm. Most devices come with standard cuffs suitable for arm circumferences of 9-13 inches, with larger cuffs available separately.
Preparing for Accurate Measurement
Preparing for blood pressure measurement is just as important as the measurement itself. Proper preparation can mean the difference between accurate readings and misleading results that could affect your healthcare decisions.
Pre-Measurement Guidelines
- Rest for 5 minutes: Sit quietly in a chair with your back supported before taking any measurements
- Avoid stimulants: No caffeine, alcohol, or tobacco for at least 30 minutes before measurement
- Empty your bladder: A full bladder can raise blood pressure readings by 10-15 mmHg
- Remove tight clothing: Ensure your arm is bare or wear loose-fitting sleeves that can be easily rolled up
- Choose consistent timing: Take readings at the same time each day for consistent tracking
Proper Positioning
Your body position significantly affects blood pressure readings. Sit in a chair with your feet flat on the floor and your back supported. Avoid crossing your legs, as this can increase readings by 2-8 mmHg.
Position your arm so it’s supported at heart level—use a table or chair arm for support. Your palm should face upward, and your arm should be relaxed. If your arm is below heart level, readings may be falsely high; if above heart level, they may be falsely low.
Cuff Placement and Sizing
Proper cuff placement is crucial for accurate measurement. Place the cuff on your bare upper arm, about 1 inch above the elbow crease. The cuff should be snug but not tight—you should be able to slip one finger underneath.
Using the wrong cuff size is a common error that significantly affects accuracy. A cuff that’s too small will give falsely high readings, while one that’s too large will give falsely low readings. Measure your arm circumference at the midpoint between your shoulder and elbow to ensure proper sizing.
Step-by-Step: How to Measure Blood Pressure Correctly
Now that you understand preparation, let’s walk through the exact steps for how to check blood pressure at home using both digital and manual devices.
Using a Digital Blood Pressure Monitor
- Power on and prepare: Turn on your digital monitor and ensure the cuff is completely deflated
- Position the cuff: Wrap the cuff around your bare upper arm with the air tube over the brachial artery (inner arm)
- Secure properly: Fasten the cuff snugly—tight enough that you can only slip one finger underneath
- Rest your arm: Keep your arm relaxed and supported at heart level on a table or chair arm
- Start measurement: Press the start button and remain completely still and quiet during inflation and measurement
- Wait for results: The cuff will automatically inflate and then slowly deflate while the device takes readings
- Record your reading: Note both the systolic (upper) and diastolic (lower) numbers, plus the date and time
Using a Manual Blood Pressure Cuff
Reading a blood pressure cuff manually requires listening for specific sounds called Korotkoff sounds as the cuff deflates.
- Apply the cuff: Wrap the cuff around the upper arm and position the stethoscope over the brachial artery
- Locate the pulse: Find the radial pulse at your wrist while inflating the cuff until the pulse disappears
- Inflate further: Continue inflating 20-30 mmHg beyond where the pulse disappeared
- Begin deflation: Slowly release air at 2-3 mmHg per second while listening carefully
- Note systolic pressure: The first clear tapping sound you hear indicates systolic pressure—note the gauge reading
- Continue listening: Keep deflating while listening for the sounds to change and eventually disappear
- Note diastolic pressure: When the sounds completely disappear, note this gauge reading as your diastolic pressure
- Complete deflation: Fully deflate the cuff and remove it from your arm
Taking Multiple Readings
Always take at least two readings, waiting 1-2 minutes between measurements. If the readings differ by more than 5 mmHg, take a third reading. Average the readings for the most accurate result, and remember that blood pressure accuracy tips emphasize consistency in timing and technique.
Interpreting Your Blood Pressure Results
Understanding what your blood pressure numbers mean is crucial for managing your cardiovascular health. The normal blood pressure range and hypertension stages have been updated based on recent research showing that lower targets reduce cardiovascular risk.
Blood Pressure Categories
| Category | Systolic (mmHg) | And/Or | Diastolic (mmHg) | Action Needed |
|---|---|---|---|---|
| Normal | Less than 120 | AND | Less than 80 | Maintain healthy lifestyle |
| Elevated | 20-129 | AND | Less than 80 | Lifestyle changes recommended |
| Stage 1 Hypertension | 130-139 | OR | 80-89 | Lifestyle changes + possible medication |
| Stage 2 Hypertension | 140/90 | OR | 90 or higher | Lifestyle changes + medication likely |
| Hypertensive Crisis | Higher than 180 | AND/OR | Higher than 120 | Seek immediate medical attention |
Understanding the Numbers
Systolic pressure (the upper number) represents the pressure when your heart beats and pumps blood through your arteries. Diastolic pressure (the lower number) represents the pressure when your heart rests between beats. Both numbers are measured in millimeters of mercury (mmHg).
The classification is based on the higher category when systolic and diastolic pressures fall into different ranges. For example, if your reading is 142/78, you would be classified as Stage 2 Hypertension because the systolic reading falls into that category.
What Your Results Mean
A normal blood pressure range indicates your cardiovascular system is functioning well. Elevated readings suggest you’re at risk for developing hypertension and should focus on lifestyle modifications like diet, exercise, and stress management.
Stage 1 and Stage 2 hypertension require medical attention. Your healthcare provider will likely recommend lifestyle changes and may prescribe medication depending on your overall cardiovascular risk factors. Remember, a single high reading doesn’t necessarily mean you have hypertension—diagnosis requires multiple elevated readings over time.
Common Mistakes and Troubleshooting
Even with careful technique, several common errors can affect the accuracy of your blood pressure readings. Understanding these blood pressure accuracy tips will help you avoid the most frequent mistakes that lead to misleading results.
Measurement Errors to Avoid
Talking or moving during measurement is one of the most common mistakes. Any movement or conversation can increase your reading by 10-40 mmHg. Stay completely still and quiet from the moment the cuff begins inflating until the measurement is complete.
Incorrect arm position significantly affects accuracy. If your arm is unsupported or not at heart level, readings can be falsely high or low. Always support your arm on a table or chair arm, keeping it relaxed at heart level.
Poor cuff fit is another frequent issue. A cuff that’s too small can increase readings by 2-10 mmHg, while one that’s too large can decrease them by 2-5 mmHg. The cuff bladder should encircle at least 80% of your arm circumference.
Device-Specific Troubleshooting
For digital monitors, low battery can cause erratic readings or measurement failures. Replace batteries regularly and watch for low battery indicators. Irregular heartbeat detection features may prevent readings in people with arrhythmias—consult your healthcare provider about appropriate monitoring methods.
Manual cuff users should ensure their stethoscope earpieces fit properly and the diaphragm is positioned correctly over the brachial artery. Practice identifying Korotkoff sounds, as hearing them clearly takes experience.
Environmental Factors
White coat syndrome can elevate readings by 20-30 mmHg in medical settings due to anxiety. This is why home monitoring is valuable—it provides readings in your natural environment without the stress of a medical visit.
Temperature extremes can also affect readings. Cold temperatures can increase blood pressure, while excessive heat may lower it. Take measurements in a comfortable, room-temperature environment for consistency.
When to Seek Help
If you consistently get error messages, widely varying readings, or results that seem inconsistent with your symptoms, have your device checked by a healthcare professional. Many pharmacies and clinics can test your home monitor against professional equipment.
Seek immediate medical attention if your blood pressure reading exceeds 180/120 mmHg, especially if accompanied by symptoms like chest pain, shortness of breath, or severe headache.
Interactive Blood Pressure Reading Example
Practice interpreting blood pressure readings with this interactive example. Click the buttons below to see different readings and their interpretations.
Click a button above to see how different blood pressure readings are interpreted according to current medical guidelines.
Normal
Excellent! This reading falls within the normal range. Continue maintaining a healthy lifestyle with regular exercise, balanced diet, and stress management.
Elevated
This reading is elevated. Consider lifestyle modifications like reducing sodium intake, increasing physical activity, and managing stress to prevent progression to hypertension.
Stage 1 Hypertension
This indicates Stage 1 Hypertension. Consult your healthcare provider about lifestyle changes and possible medication. Take multiple readings over several days to confirm.
Stage 2 Hypertension
This indicates Stage 2 Hypertension. Schedule an appointment with your healthcare provider promptly. Medication and lifestyle changes will likely be recommended.
Frequently Asked Questions
For routine monitoring, check your blood pressure readings 2-3 times per week at the same time of day. If you’re newly diagnosed with hypertension or adjusting medications, your doctor may recommend daily monitoring. Always follow your healthcare provider’s specific recommendations for your situation.
Blood pressure naturally fluctuates throughout the day due to activity, stress, food intake, and circadian rhythms. Variations of 5-10 mmHg between readings are normal. For accuracy, take multiple readings and average them, always using the same arm and following proper preparation techniques.
Use the arm with higher blood pressure readings, which is typically determined during your first few measurements. Check both arms initially—if there’s a significant difference (more than 10 mmHg), use the higher arm and inform your healthcare provider about the difference.
Yes, anxiety and stress can significantly elevate blood pressure readings, sometimes by 20-30 mmHg. This is why the 5-minute rest period before measurement is crucial. White coat syndrome is a common example where medical settings cause anxiety-induced elevated readings.
Compare your home readings with professional measurements at your doctor’s office or pharmacy. Bring your device to appointments for comparison. Look for monitors validated by the British Hypertension Society or American Heart Association, and have your device calibrated annually if possible.
If your reading is above 180/120 mmHg, wait 5 minutes and recheck. If still elevated, and especially if you have symptoms like chest pain, shortness of breath, or severe headache, seek immediate medical attention. For persistently high readings without symptoms, contact your healthcare provider within 24 hours.
Upper arm vs. wrist monitors show that arm monitors are generally more accurate because they measure closer to heart level. Wrist monitors can be affected by position changes and may be less reliable, especially for people with circulation problems or diabetes. Most healthcare providers recommend upper arm monitors for home use.
Conclusion
Learning how to read a blood pressure meter correctly is an invaluable skill for managing your cardiovascular health. By following proper preparation techniques, using correct positioning, and understanding how to interpret your results, you can obtain accurate readings that provide meaningful insights into your health status.
Remember the key principles: rest before measuring, maintain proper positioning, use the correct cuff size, and take multiple readings for accuracy. Whether you choose a digital or manual device, consistency in technique and timing will give you the most reliable results for tracking your blood pressure trends over time.
Home blood pressure monitoring complements, but doesn’t replace, regular healthcare provider visits. Share your home readings with your doctor to help guide treatment decisions and medication adjustments. With the updated hypertension guidelines emphasizing lower target pressures, accurate home monitoring has become more important than ever for preventing cardiovascular complications.
Take action today: If you don’t already have a home blood pressure monitor, consider investing in a validated upper arm device. Start keeping a blood pressure log, and schedule a discussion with your healthcare provider about your readings and cardiovascular risk factors. Your heart will thank you for taking this proactive step toward better health.
References
- Harvard Health Publishing: Reading the New Blood Pressure Guidelines – Comprehensive guide to updated hypertension classification and measurement protocols
- NCBI Bookshelf: How is Blood Pressure Measured? – Detailed medical explanation of blood pressure measurement techniques and device accuracy
- National Heart, Lung, and Blood Institute: High Blood Pressure – Official U.S. guidelines for blood pressure categories and management recommendations
- MedlinePlus: Measuring Blood Pressure – Patient-friendly guide to blood pressure testing and result interpretation
- University of Utah Health: Understanding Your Blood Pressure Readings – Additional explanations for blood pressure interpretation and monitoring
- American Heart Association: Understanding Blood Pressure Readings – Authoritative source for hypertension categories and device recommendations
- U.S. Food and Drug Administration: High Blood Pressure – Understanding the Silent Killer – Device safety information and purchasing guidance for home monitors
Disclaimer:
The information provided on MD-Pilot is for educational and informational purposes only. It is not intended as a substitute for professional medical advice, diagnosis, or treatment. Always seek the advice of your physician or other qualified healthcare provider with any questions you may have regarding a medical condition. Never disregard professional medical advice or delay in seeking it because of something you have read on this website.


Weekly Health Intel
Get evidence-based health tips, latest research, and exclusive guides delivered weekly